The Oil Filter Wrench: The One Tool I Wish Someone Had Told Me About Sooner
So there I was, lying under my car on a cold Saturday morning, hands covered in oil, swearing at a filter that absolutely refused to budge. I’d already tried using a rag for grip. Then a rubber glove. Then both at the same time. Nothing.
My neighbor walked over, looked at me for about two seconds, went back to his garage, came back with a simple little tool, slipped it on, and the filter was off in three seconds flat.
“What is that thing?” I asked.
“Oil filter wrench, mate. Buy one. Save your sanity.”
That was three years ago. Since then, I’ve done six or seven oil changes myself. And every single time, I think about how much time and frustration I wasted before I had this tool.
If you’re doing your own oil changes and you don’t own an oil filter wrench yet, this article is for you.
Why Your Hands Are Never Enough
Here’s the thing nobody tells you when you first start doing DIY oil changes: the oil filter on your car was put on by a machine at the factory or by a mechanic with an impact wrench, and it’s probably on there tighter than you can get it. It was torqued on tight. It’s way tighter than you can get it off with your bare hands.
And then add a bit of heat cycling. The engine gets hot, cools down, and gets hot again. That filter basically welds itself on after a while.
When your fingers slip for the fourth time and you’ve already torn half the rubber seal, trust me, that’s not a technique problem. That’s a “you need the right tool” problem.
What an Oil Filter Wrench Actually Is
It’s pretty simple. It’s a tool designed to grip the outside of an oil filter so you can loosen it without it slipping. That’s it. No magic.
There are a few different types, and they all work a bit differently. Let me break them down because picking the wrong one for your car is a real thing that happens.
1. The Strap Wrench
This is the most universal type. It has a rubber or nylon strap that loops around the filter and tightens as you turn. Works on almost any size filter.
This was the first one I bought. Got it from Amazon for around $8. Worked fine on my old Honda but felt a bit wobbly on my brother’s bigger diesel. For most regular passenger cars, though, a strap wrench does the job.
The downside? If the filter is really stuck or covered in old oil, the strap can slip. Annoying, but not a dealbreaker.
Best for: beginners, people who work on different cars, and tight spaces.
2. The Cap / Socket Wrench
This one fits over the top or bottom of the filter like a cap and connects to your ratchet. Much more grip. Much more torque.
The catch is these are size-specific. A 65mm cap won’t fit an 80mm filter. So before you buy, check your car’s manual or just Google your car model plus “oil filter size.” Takes 30 seconds.
I ended up getting a set of three common sizes, and they’ve covered every car I’ve worked on since. Way more satisfying to use than the strap type when you have a stubborn filter.
Best for: People who always work on the same car or two.
3. The Claw / Plier-Style Wrench
This one has adjustable jaws that grab the filter from the side. It looks like a giant pair of pliers.
I wasn’t a fan at first; it seemed clunky. But on filters that are in awkward positions, this thing is actually really useful. You can angle it in ways a cap wrench just can’t go.
Best for: Awkward filter positions, older vehicles, larger filters on trucks or SUVs.
The Mistake I Made (So You Don’t Have To)
The first time I used a cap wrench, I bought the wrong size. Didn’t measure, just guessed based on what looked right. The cap spun right off and scratched the filter casing.
Lesson learned: measure first or look it up. AutoZone, Amazon, and most tool sites list filter wrench sizes by car make and model. Takes two minutes and saves a lot of frustration.
Also, another mistake I made early on: using the wrench to put the NEW filter on. Don’t do that. New filters should always be hand-tightened only. Usually just a three-quarter turn after the gasket touches the engine. Over-tightening a new filter is how you crack the housing or make the next removal a nightmare.
The wrench is for removal only. Hand-tight for installation. Write that on a sticky note and put it in your garage if you have to.
Do you actually need one? Or Can You Get By Without It?
Honestly? If your oil changes always go smoothly and your filter comes off easily by hand, you probably don’t need one urgently.
But here’s the thing: most people reading this article are here because they’ve already had a stubborn filter moment. And if it happened once, it’ll happen again.
An oil filter wrench costs between $5 and $25 depending on the type. A single visit to a quick lube shop costs $40 to $80. The math isn’t complicated.
If you’re serious about doing your own maintenance, this tool pays for itself the first time you use it.
What to Look for When Buying One
You don’t need to overthink this. Here’s what actually matters:
Fit your filter size. If you’re going the cap-style route, find out your filter diameter first. Most filters fall between 60mm and 100mm. A lot of sets cover 65mm, 74mm, and 86mm, which handle most common cars.
Material matters a bit. Cheap plastic cap wrenches can crack if you really crank on them. Metal or heavy-duty plastic is worth a few extra dollars. The strap type is usually fine in rubber or nylon.
Drive size. Cap wrenches attach to a ratchet. Most use a 3/8″ or 1/2″ drive. Check what ratchets you already own before buying.
Brand? Honestly, for this tool you don’t need to spend big. Tekton, Lisle, and ABN all make solid, affordable options. I’ve used Tekton’s strap wrench for years with zero complaints. Pittsburgh from Harbor Freight also works fine for occasional home use.
A Quick Step-by-Step: Changing Your Oil Filter the Right Way
Here’s how I do it every time now:
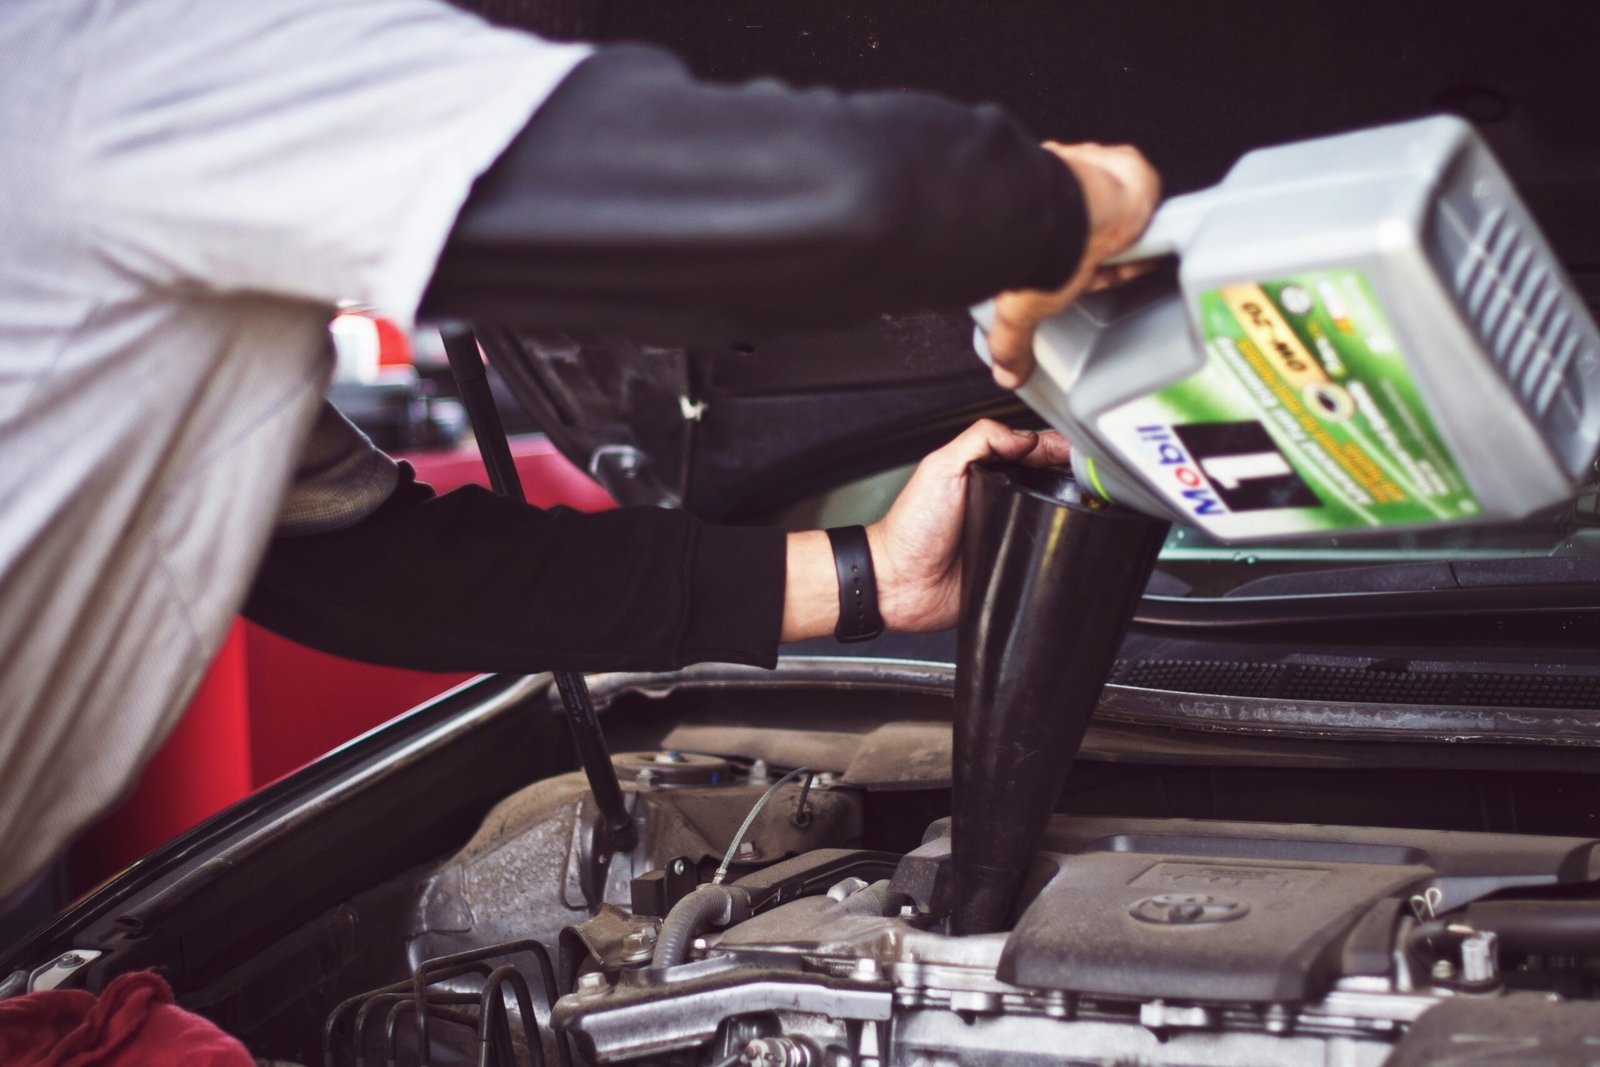
Step 1: Warm up the engine for two or three minutes. Warm oil drains faster. Don’t run it hot, though, or you’ll burn yourself.
Step 2: Drain the old oil first through the drain plug. Let it drain completely before touching the filter.
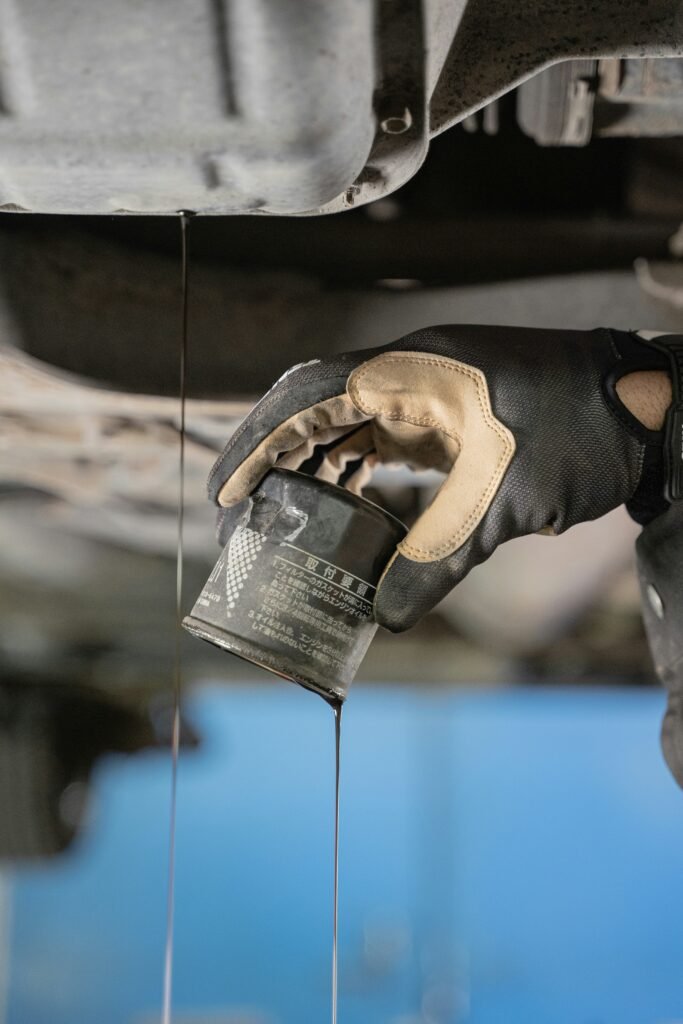
Step 3: Position your wrench on the old filter. For a strap wrench, loop it on and pull counterclockwise. For a cap wrench, fit it over the end, attach your ratchet, and turn counterclockwise.
Step 4: Once it’s loose, finish removing by hand. Have a rag ready because old oil will drip.
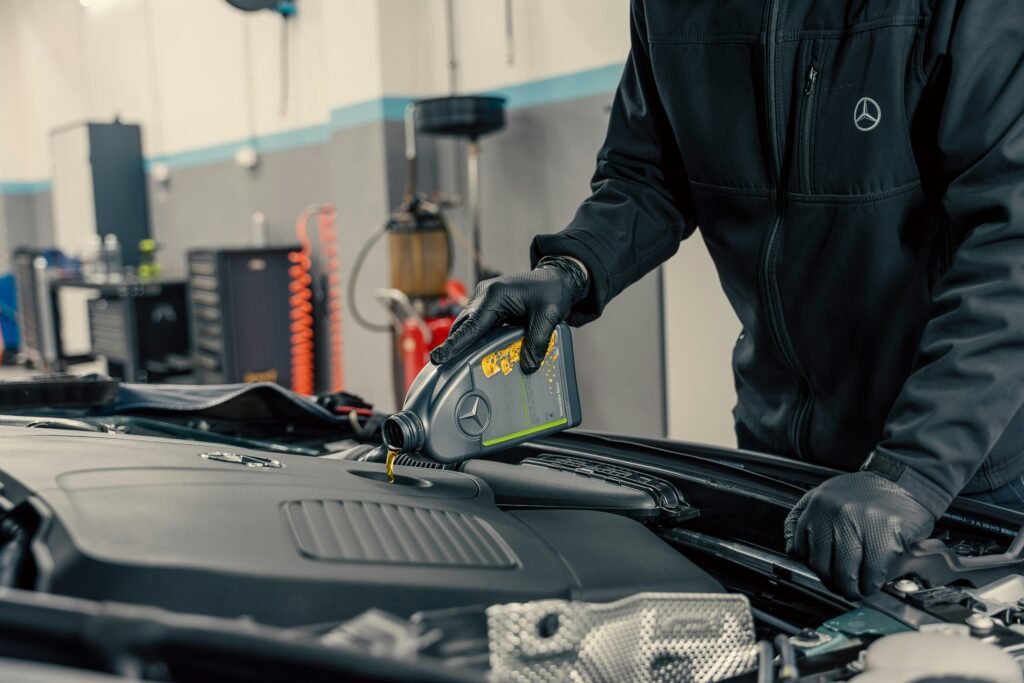
Step 5: Before installing the new filter, rub a thin layer of fresh oil on the new gasket (the rubber ring). This helps it seal properly and makes the next removal easier.
Step 6: Screw the new filter on by hand only. Three-quarter turn after the gasket touches. That’s it.
Step 7: Refill engine oil, run for a minute, and check for leaks around the filter. Done.
The whole job takes maybe 20 to 30 minutes once you’ve done it a couple of times.
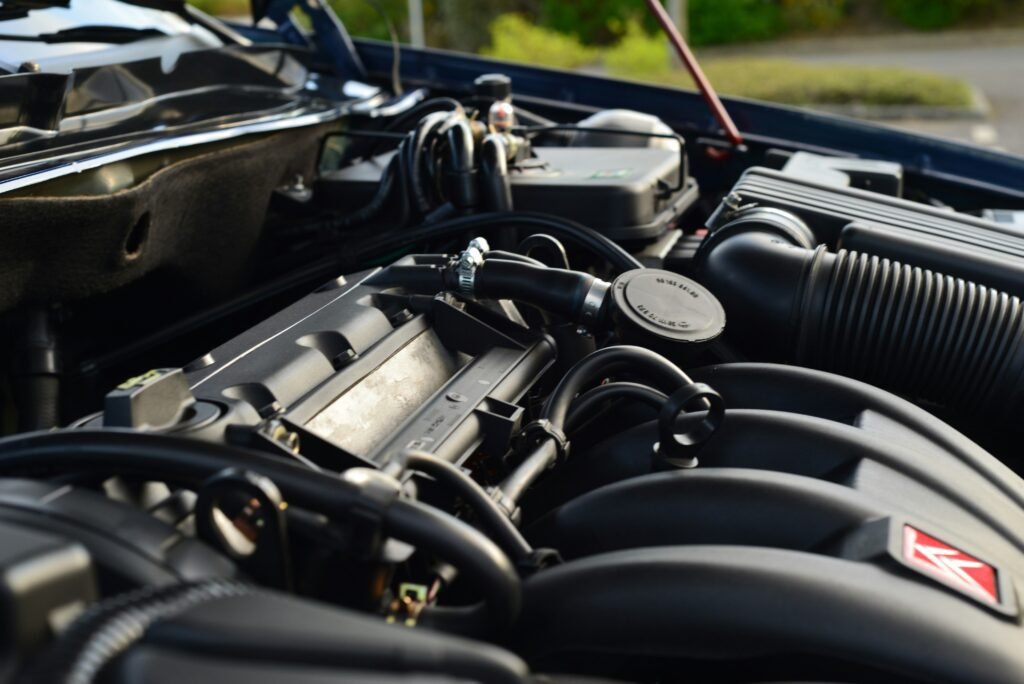
One More Thing About Filter Placement
Some cars have the oil filter on top of the engine, easy to reach and easy to remove. Lucky you.
Others have it buried underneath, facing sideways, tucked behind other components. On those cars, a strap wrench with a long handle or a flexible extension for your cap wrench is a game changer. I’ve worked on a Ford Focus where the filter placement made me genuinely question life decisions. A long-handled strap wrench saved that job.
If your car is one of those, search YouTube for your specific model before you start. Someone has almost certainly filmed the exact struggle you’re about to have and shown the easiest way around it.
Final Thoughts
An oil filter wrench isn’t the most exciting tool you’ll ever buy. It’s not loud; it doesn’t look impressive hanging in the garage, and nobody’s going to ask you about it at a car meet.
But the day your filter refuses to budge and you’ve got this tool in your hand instead of a rubber glove and a prayer, you’ll understand why it’s worth having.
Get one. Keep it with your oil change supplies. And next time someone asks you how to do an oil change, tell them about this tool before they find out the hard way.

Adnan Aslam is passionate about helping everyday drivers understand their vehicles better. Through CarFixedExpert.com, he shares clear, step-by-step car maintenance guides written in simple language. His goal is to make basic repairs and maintenance easy, safe, and affordable for everyone.
He believes that even small car knowledge can save money and prevent major problems. His content focuses on practical advice, safety awareness, and beginner-friendly explanations.