My Rear Brakes Were Almost Gone. And I Had No Idea
I still remember the moment clearly. I was driving back from a grocery run, maybe doing 40 mph, when I pressed the brake pedal and heard this faint metallic scraping sound. Not loud, not scary, just… there. Like someone dragging a spoon across a pan.
I told myself it was probably just dust. Or a pebble. Classic denial.
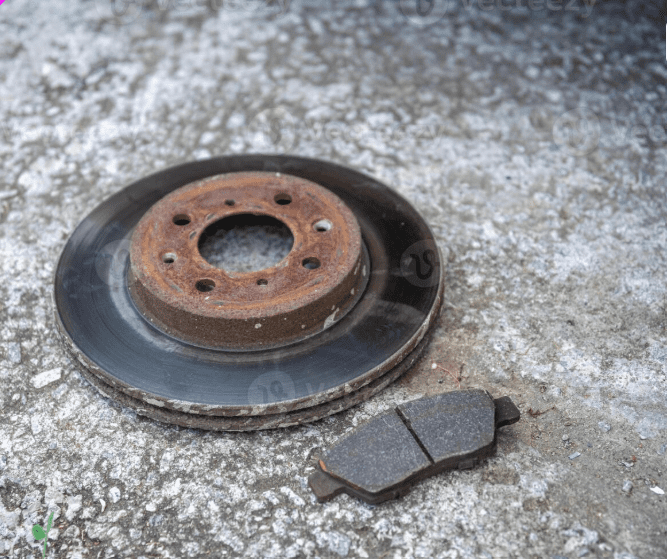
Two weeks later, my mechanic showed me the rotor. It had a groove worn into it like a vinyl record. The brake pad had been completely eaten through, and the metal backing plate had been grinding directly on the rotor for who knows how long. What would’ve been a 40-dollar pad replacement turned into a 280-dollar job because the rotor needed replacing too.
That was the day I decided to actually learn how to check my own brake pads. Not become a mechanic. Just know enough to not get blindsided like that again.
So here’s everything I’ve learned since then, written the way I wish someone had explained it to me.
Why Most People Ignore Their Brake Pads Until It’s Too Late
Honestly? Because brakes are one of those “out of sight, out of mind” things. You can’t see them unless you really look, and unless something feels wrong, most people don’t think about them.
The problem is that brake pads wear down slowly. There’s no sudden warning. It’s gradual, week by week, until one day they’re dangerously thin and you’re looking at real money in repairs or, worse, a scary moment on the road.
Car manufacturers put a wear indicator on most pads, which is basically a tiny metal tab that makes that squealing sound when the pad gets too thin. But that sound doesn’t always kick in immediately, and some people ignore it for weeks. I was one of those people.
Checking your own pads takes maybe 10 minutes. You don’t need to be a gearhead. You just need to know what to look for.
What You’ll Need Before You Start
Nothing fancy. Here’s the basic kit:
A flashlight (the one on your phone works fine, but a proper small torch is better because you can angle it)
A ruler or a small digital caliper (you can grab one for under 10 dollars on Amazon). The brand CDI or Mitutoyo are solid, but honestly any basic caliper works.
Gloves if you don’t want your hands covered in brake dust, which is genuinely not great to breathe in either
That’s it. No jack is required for the visual check method, which is where most people should start.
Method 1: The Quick Visual Check (No Tools Needed)
This is the easiest one, and it works for most modern cars.
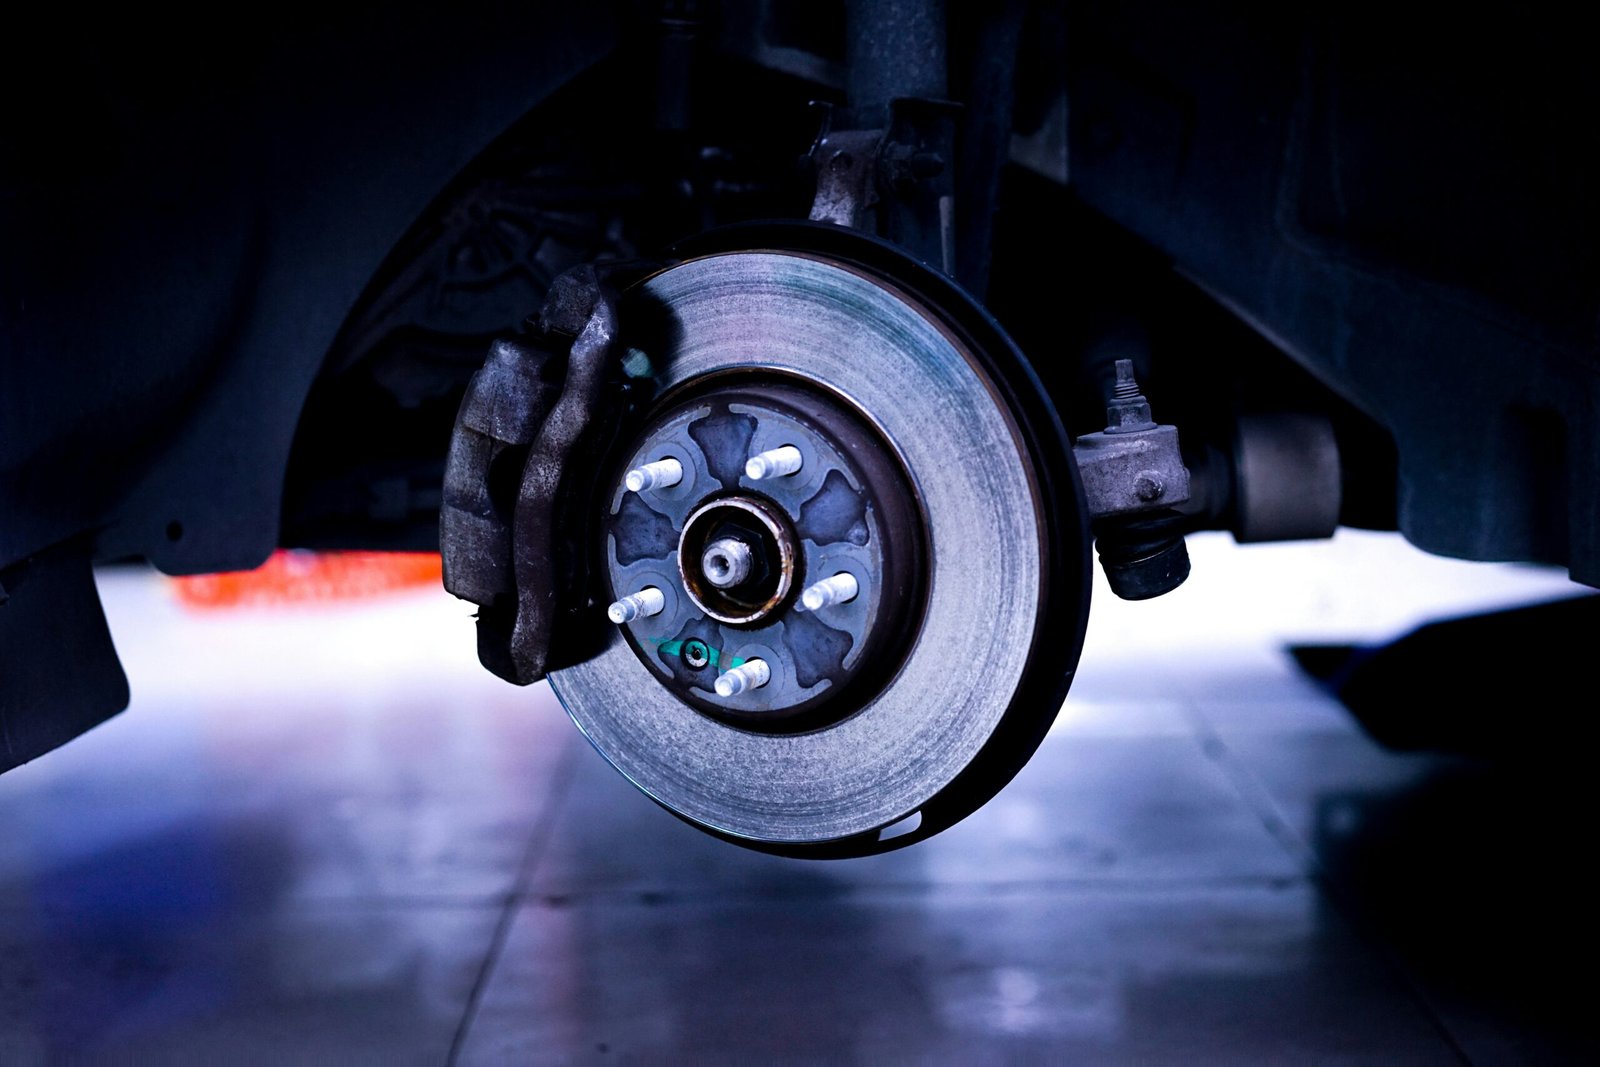
Look through the spokes of your wheel. You’ll see the brake rotor (the shiny disc), and hugging it like a sandwich is the brake caliper. Squeezed between the caliper and the rotor is the brake pad.
You’re looking at the thickness of that pad material. It should have at least 3mm of pad left. If it looks paper-thin, like a credit card edge, that’s a problem.
The target thickness to remember is anything above 6 mm is healthy. Between 3 and 6 mm means it’s getting worn, but you have some time. Below 3mm, get those pads replaced soon. Below 2mm, stop driving long distances until you sort it out.
Good lighting makes a huge difference here. Daylight works, but pointing your phone’s flashlight directly at the pad helps you see the actual thickness versus shadows.
One thing I got wrong early on: I was looking at the wrong part. The shiny metal part is the rotor. The dark, textured, sort of rubbery-looking material pressed against it is the pad. It took me an embarrassingly long time to figure that out the first time.
Method 2: Take the Wheel Off and Actually Measure
If you’re handy and want to be sure, this is the proper way.
Loosen the wheel nuts while the car is still on the ground (so the wheel doesn’t spin on you). Jack up the car safely using a proper jack stand, not just the scissor jack from the trunk. Never work under a car supported only by a floor jack. That’s how accidents happen.
Remove the wheel.
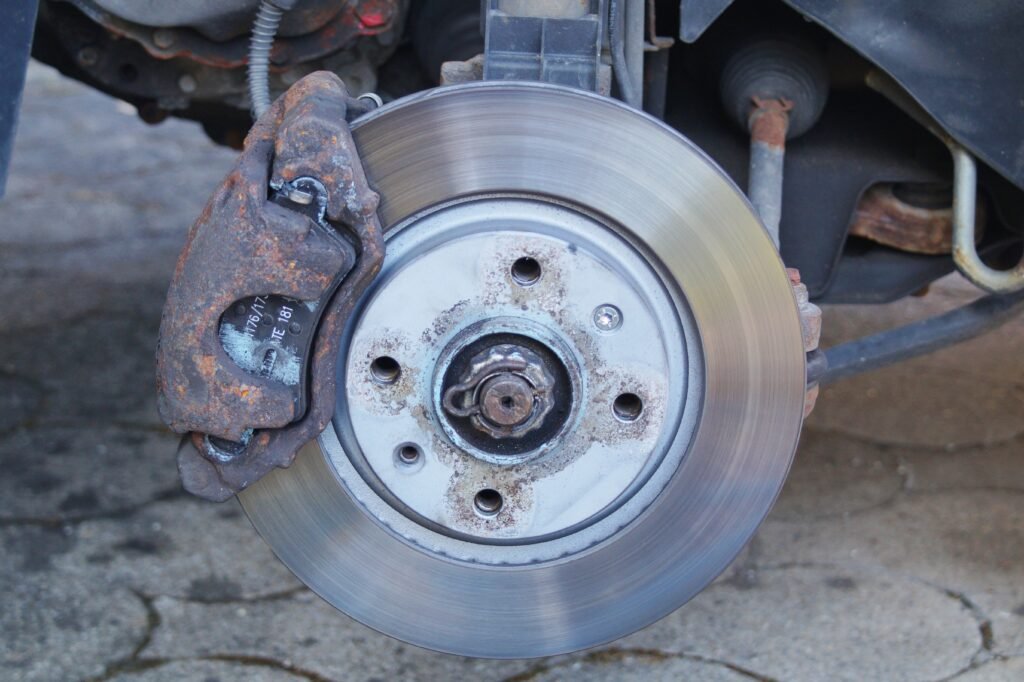
Now you’ve got full access to the brake pad. Grab your caliper and measure the pad material (not the metal backing plate behind it, just the friction material on the face). As mentioned, 6 mm or more is good, 3 mm is your warning zone, and less than that means replacement time.
While you’re in there, also look at the rotor surface. If it has deep grooves scored into it, that’s a sign the pads ran too low at some point. A slightly dull rotor is normal. Grooves are not.
Listening for Warning Signs (This One Saved My Neighbor)
My neighbor Lisa had no idea how to check pads visually. I taught her one thing instead: just listen.
A high-pitched squealing when you brake is the wear indicator doing its job. New brakes don’t squeal like that. If your car starts making that sound when you press the brakes, don’t wait a week. Check the pads that weekend.
A grinding or growling sound is worse. That’s metal on metal. At that point you’re not just dealing with worn pads; you’re likely dealing with rotor damage too.
A scraping sound that happens even when you’re NOT braking can sometimes mean a pad has shifted or debris got stuck. Still worth checking.
Vibration through the brake pedal usually points to warped rotors but can also happen with very uneven pad wear.
None of these sounds should be ignored.
How Often Should You Actually Be Checking?

The honest answer is more often than you probably do.
A visual check through the wheel spokes takes 30 seconds. You can do it every time you wash your car or every time you fill up with fuel. Just make a habit of glancing at those pads through the wheel.
Officially, most mechanics suggest a proper inspection every 12,000 miles or at every oil change. But if you’re doing a lot of city driving with frequent braking or driving in hilly areas, your pads wear faster than in highway driving. Factor that in.
My personal rule now: I check pads with every seasonal tire rotation, which is twice a year. Since I started doing that, I’ve never been caught off guard.
Mistakes I Made (So You Don’t Have To)
Mistake 1: Only checking the front pads. Front brakes do about 70% of the braking work on most cars, so they wear faster. But the rears matter too. Check all four wheels.
Mistake 2: Assuming the squealing would stop on its own. It won’t. That sound is the car literally telling you something is wrong.
Mistake 3: Not checking after buying a used car. I bought a second-hand Honda once and assumed the pads were fine because the car felt okay. The mechanic found 2.5mm on the rear left two months later. Always check when buying used.
Mistake 4: Looking but not really seeing. The first few times I checked my pads, I wasn’t sure what I was even looking at. Get a friend who knows cars to walk you through it once in person. It clicks much faster that way.
When You Should Just Let a Mechanic Handle It
My Car Was Bouncing After Every Bump
Checking is one thing. Replacement is another. If you’ve never changed brake pads before, watching a YouTube tutorial can be helpful, but be honest about your comfort level. Brakes aren’t the place to experiment.
If you find that pads are below 3mm, or if you see any cracking or uneven wear in the pad material, or if the rotors have deep grooves, book a proper service appointment. Most shops will inspect brakes for free if you ask.
For those who want to learn the replacement process, channels like ChrisFix on YouTube are genuinely good. He explains things in plain language with clear camera work. There are also apps like RepairPal that can help you estimate fair repair costs before you walk into a shop, so you don’t get overcharged.
The 5-Minute Routine That’ll Save You Money
Once a month, or every few fill-ups, do this:
Walk around your car. Crouch down and look through each wheel at the brake pad. You’re checking that it still looks like it has some thickness to it, not paper-thin.
Any squealing sound when braking? Note it and investigate that week.
Any vibrations or grinding? Get it checked immediately.
That’s genuinely it. Five minutes, no tools, no expertise required.
Final Thoughts
Brakes are the most important safety system on your car. Not the engine, not the electronics. The brakes.
What happened to me with those rear pads could have ended badly if I’d been going faster when I needed to stop suddenly. Thankfully it didn’t. But I paid for that lesson in both money and a healthy dose of embarrassment.
You don’t need to become a car person to stay safe. You just need to look at those pads every once in a while. Ten seconds through the wheel spokes. That’s all it takes to know whether everything is okay or whether something needs attention.
Take care of your brakes. They’re literally what stands between you and whatever’s in front of you when things go wrong.

Adnan Aslam is passionate about helping everyday drivers understand their vehicles better. Through CarFixedExpert.com, he shares clear, step-by-step car maintenance guides written in simple language. His goal is to make basic repairs and maintenance easy, safe, and affordable for everyone.
He believes that even small car knowledge can save money and prevent major problems. His content focuses on practical advice, safety awareness, and beginner-friendly explanations.