
My Car AC was blowing weird smells, and I had no idea this little filter existed.
Last summer I nearly convinced myself my car had some kind of mold problem.
Every time I turned on the AC, this musty, dusty smell would hit me right in the face. Not super strong, just enough to be annoying. Like opening an old cupboard that nobody has touched in years.
I sprayed air freshener. Tried those little tree fresheners hanging from the mirror. Nothing worked. The smell was coming from inside the vents, not from the car itself.
Then a coworker of mine, a guy who genuinely loves tinkering with cars, got in my car one afternoon and immediately said, “Bro, when did you last change your cabin air filter?”
I said, “My what?”
He looked at me the way teachers look at students who forgot to study. Patient, but also slightly amazed.
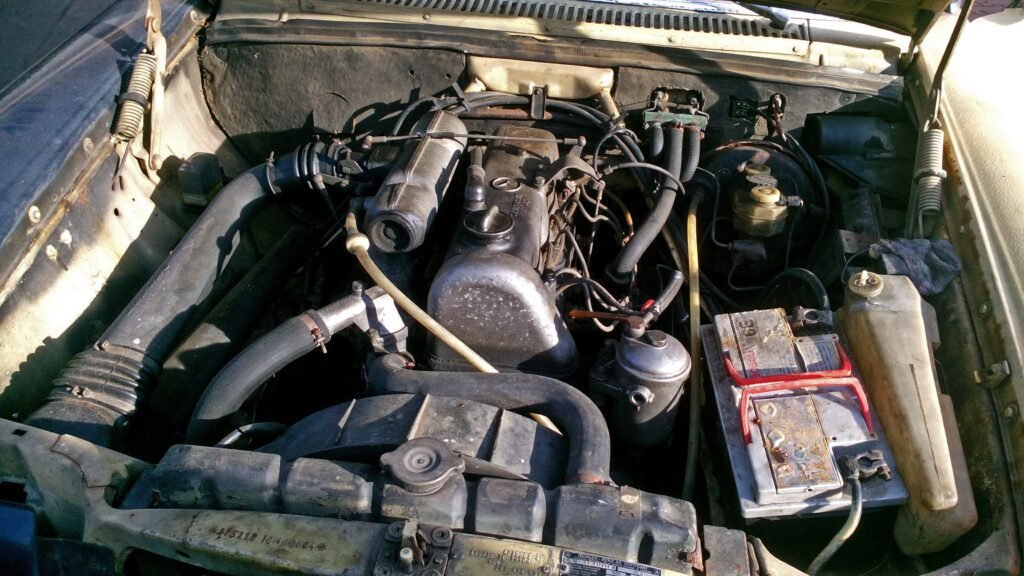
Turns out there is a filter sitting inside your car, usually behind the glove box, that catches dust, pollen, pollution, and all the other stuff floating around outside before it blows through your vents. And mine had not been changed in probably three years. It was clogged, grey, and honestly kind of disgusting when I finally pulled it out.
Twenty minutes and about fifteen dollars later, my AC was blowing clean, fresh air again. No more smell. No mechanic visit. No big bill.
That was the day I learned cabin air filters exist. I am guessing a lot of people reading this are in the same boat I was.
What Even Is a Cabin Air Filter

Most car owners know about the engine air filter. That is the one mechanics always try to upsell you on during an oil change. But the cabin air filter is different. It does not help the engine. It filters the air that comes into the inside of your car through the vents.
Think about it. When you are driving on a dusty road, or stuck behind a bus pumping black smoke, or parked near construction, all that air is being pulled into your car through your AC or heater system. The cabin filter catches that stuff before it reaches you.
When it gets clogged, a few things happen. The airflow from your vents gets weaker. The system has to work harder to push air through. And if the filter gets damp or collects enough organic matter, it starts to smell.
That is exactly what happened in my car.
Signs Your Cabin Filter Needs Replacing
This is where I want you to actually save yourself the trouble I went through. Look for these signs:
Weak airflow from your vents even when the fan is on high. This was my first sign that I completely ignored for months. I just assumed my AC was getting old.
Musty or dusty smell when you first turn on the AC or heater. This is the big one. A clean filter should not produce any smell.
More dust than usual settling on your dashboard. If you notice you are wiping dust off your dash more often, the filter might not be catching particles properly anymore.
Allergy symptoms getting worse inside the car. If you are sneezing more or your eyes are irritated while driving, a dirty filter could be sending pollen and dust straight at your face.
Unusual noise from the vents. Sometimes a really clogged filter causes a faint whistling or rattling because the airflow is restricted.
I had the weak airflow and the smell. Both. For months. And I just lived with it.
How Often Should You Replace It
Most car manufacturers recommend replacing the cabin air filter every 12,000 to 15,000 miles. In simple terms, roughly once a year for average drivers.
But here is the real talk. If you live somewhere dusty, drive on dirt roads often, or sit in city traffic a lot, you should check it more frequently. Maybe every 8,000 to 10,000 miles.
I live in a city with a lot of traffic and construction everywhere. I should probably be changing mine every year without question. Three years was embarrassingly overdue.
The good news is checking it takes about two minutes and costs nothing.
Finding the Right Filter for Your Car
Before you go shopping, you need to know which filter fits your car. Do not just grab a random one off the shelf.
The easiest way is to use the Fram website or the K&N filter lookup tool. Both let you enter your car’s year, make, and model, and they tell you exactly which filter you need. Takes thirty seconds.
You can also look in your car owner’s manual. It will have the filter part number and replacement interval in the maintenance section.
At an auto parts store like AutoZone or O’Reilly, just tell the person at the counter your car details, and they will pull the right filter. This is genuinely the safest option if you are not sure.
Prices range from about eight dollars for a basic paper filter to around twenty-five dollars for a premium activated carbon filter. The carbon filters are worth it if you drive in heavy traffic because they also help with odors and exhaust fumes, not just dust.
I went with a FRAM TrueAir carbon filter the second time around. Night and day difference from the basic paper one I started with.
How to Replace the Cabin Air Filter Yourself
This is where most people assume it gets complicated. It really does not. For the majority of cars, the cabin filter lives behind the glove box, and you do not need a single tool.
Here is the process for most common cars. Your specific car might vary slightly, but the steps are usually very similar.
Step 1: Open the glove box
Open it fully like normal.
Step 2: Empty the glove box
Take everything out. You will be moving it around, so you do not want your registration papers flying everywhere.
Step 3: Find the side clips or tabs
On most cars, the glove box has small plastic tabs or clips on either side near the top corners. These prevent the box from opening all the way down.
Squeeze the sides of the glove box inward gently. You will feel it flex. Keep squeezing and let it drop down past those tabs. It will hang lower than usual, giving you access to the area behind it.
Step 4: Locate the filter housing
You will now see a rectangular plastic cover or box. That is the cabin filter housing. It usually has a tab or latch holding it closed.
Step 5: Open the housing and slide out the old filter
Open the cover and slide the old filter out. Pay attention to which direction it was sitting. There is usually an arrow on the filter showing airflow direction. You need to put the new one in the same way.
When I pulled mine out, I genuinely could not believe what I saw. It was dark grey, almost black in spots, and covered in dust and debris. There were leaves in there. Actual small pieces of leaves. Three years of everything my car had driven through were sitting in that little rectangle.
Step 6: Check the housing before putting the new filter in
Before sliding the new filter in, shine a flashlight into the housing. Sometimes leaves or debris falls inside. Wipe it out with a dry cloth if needed.
Step 7: Slide in the new filter
Make sure the airflow arrow points in the right direction. Usually it points downward or toward the cabin, but check your specific filter instructions. Slide it in until it sits flush.
Step 8: Close everything back up
Close the filter housing. Lift the glove box back up, squeeze the sides in, and let the tabs click back into place. Close it normally.
That is it. The whole thing took me about fifteen minutes, including the time I spent staring at the old filter in disbelief.
The Mistake I Made the First Time
When I did this for the first time, I put the new filter in backwards.
I did not pay attention to the airflow arrow and just slid it in the same general direction as the old one, which I had already placed on the ground in the wrong orientation.
The AC worked fine, but the filter was not doing its job properly because the airflow was hitting the wrong side first. I only figured this out two weeks later when I watched a YouTube video and noticed the arrow direction.
So please, look at the arrow. It takes two seconds, and it matters.
The YouTube channel ChrisFix has a great video on cabin filter replacement if you want to see the whole process before you start. Watching someone do it once makes everything click.
Does the Location Change on different cars?
Yes, sometimes. Most cars have the filter behind the glove box. But some put it under the dashboard on the passenger side, and some older models have it under the hood near the windshield base.
If you cannot find it behind the glove box, search YouTube for your specific car model plus “cabin air filter location.” Someone has almost definitely made a video for your exact car. This is genuinely the fastest way to figure it out.
Carbon Filter vs Basic Paper Filter: Which One to Get
Basic paper filter: Catches dust, pollen, and larger particles. Does the job for most people in moderate environments. Cheap, around eight to twelve dollars.
Activated carbon filter: Does everything the paper one does, plus it absorbs odors and helps filter out exhaust gases and fine pollution particles. Worth it if you live in a city or drive in heavy traffic regularly. It costs fifteen to twenty-five dollars.
I used a basic filter the first time, and it was fine. But I switched to carbon on the second replacement, and honestly, the air inside my car smells noticeably fresher. Worth the extra ten dollars in my opinion.
What Happens if You Never Replace It
I know what happens because I lived it for three years.
Beyond the smell and weak airflow, a very clogged filter makes your AC system work harder. That extra strain can wear out your blower motor faster over time. Blower motor replacements are not cheap, usually a few hundred dollars at a shop.
Also, if you or anyone in your car has allergies or breathing sensitivities, a dirty cabin filter does basically nothing to help. You might as well be driving with the windows down in city traffic.
It is a fifteen dollar part that protects your health and your AC system. There is genuinely no good reason to skip it.
One Last Thing
Check your glove box right now if you cannot remember the last time you replaced the cabin filter. Seriously. Just squeeze the sides, drop it down, open the housing, and look at what is in there.
If it is grey, dusty, or has any kind of debris on it, get a new one this week. Your nose, your lungs, and your AC blower motor will thank you.
Mine was embarrassingly overdue, and the fix was so simple I felt a little silly for putting it off. But at least now I know, and now you do too.

Adnan Aslam is passionate about helping everyday drivers understand their vehicles better. Through CarFixedExpert.com, he shares clear, step-by-step car maintenance guides written in simple language. His goal is to make basic repairs and maintenance easy, safe, and affordable for everyone.
He believes that even small car knowledge can save money and prevent major problems. His content focuses on practical advice, safety awareness, and beginner-friendly explanations.