Why Tire Rotation Is Important
First and foremost, tires don’t wear out evenly on their own. In fact, they wear differently depending on weight distribution, your daily driving habits, and the road conditions you typically encounter.
For instance, if you drive a front-wheel-drive car, you’ll notice that the front tires tend to wear out faster. On the other hand, rear-wheel-drive vehicles put more strain on the back tires. Consequently, this uneven wear can lead to poor traction, annoying vibrations while driving, and even reduced fuel efficiency over time.
Therefore, rotating your tires regularly is the simplest way to ensure that all four tires wear evenly. As a result, you maintain better safety and peak performance every time you hit the road.
Tools You Will Need
Before you get started, it’s important to gather all the necessary tools. Specifically, you’ll need:
A reliable jack and jack stands
Wheel chocks to prevent rolling
A lug wrench or socket set
Gloves (optional, but recommended for grip)
A marker or chalk (optional, to mark tire positions)
Above all, having the right tools on hand makes the entire process safer and much easier.
Step 1: Park Safely
To begin with, park your car on a completely flat surface. After that, engage the parking brake firmly. Additionally, place wheel chocks behind the rear wheels if you’re lifting the front, or in front of the front wheels if you’re lifting the rear.
Remember, safety is the most critical step before lifting any vehicle.
Step 2: Loosen Lug Nuts
Now, before you lift the car, slightly loosen the lug nuts on all four tires. At this stage, don’t remove them completely just break the initial tightness. This step is much easier while the tires are still on the ground.
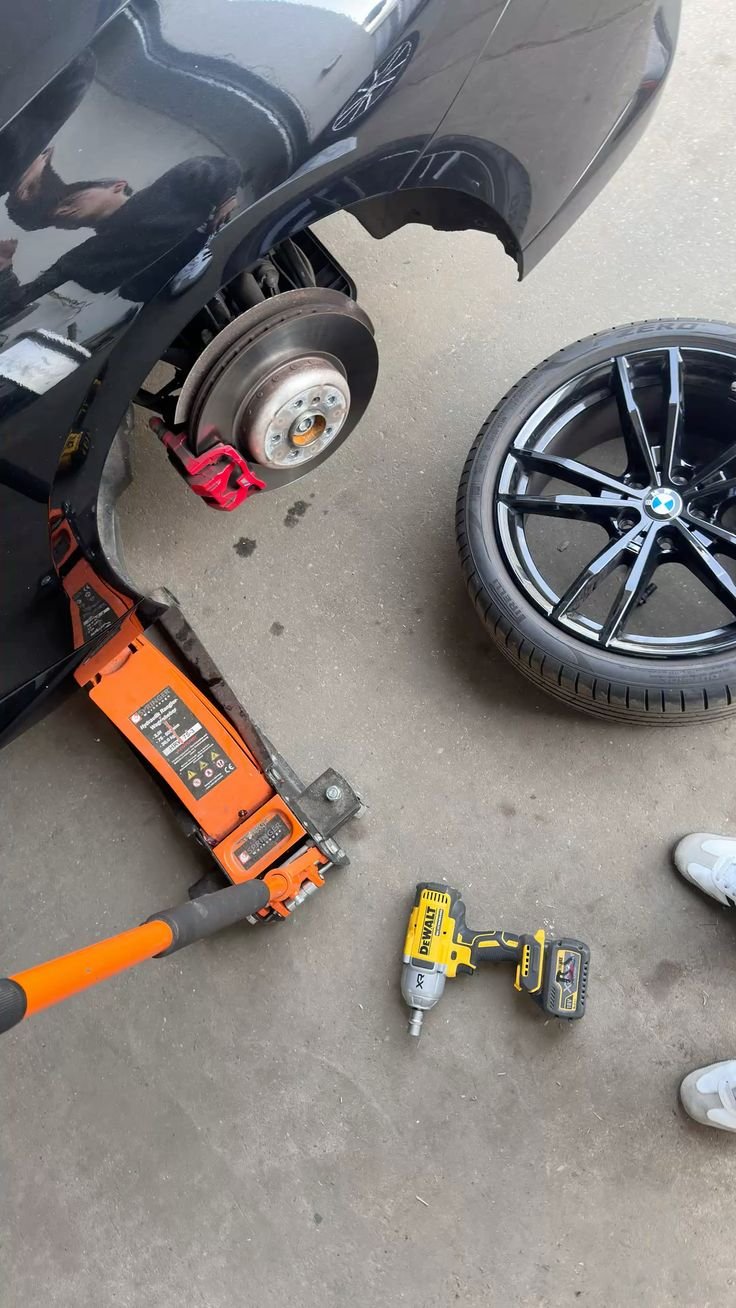
Step 3: Lift the Car
Next, use your jack to lift one corner or one side of the car. Once it’s lifted, immediately place jack stands underneath for secure support. Never under any circumstances rely on the jack alone while working under the vehicle.
Step 4: Remove the Tires
At this point, you can fully remove the loosened lug nuts. Carefully take off each tire and set them aside in a safe spot where they won’t roll away.
Step 5: Understand the Rotation Pattern
This is where many people get confused, but it’s actually quite simple. The correct rotation pattern depends entirely on your car type:
For Front-Wheel Drive (FWD): Move the front tires straight back to the rear on the same side. Meanwhile, move the rear tires to the front, but switch them to opposite sides.
For Rear-Wheel Drive (RWD) or 4WD: Move the rear tires straight to the front on the same side. At the same time, move the front tires to the rear, but cross them to opposite sides.
For Directional Tires: These tires are designed to spin one way only. Therefore, you should only rotate them front to rear on the same side never cross them.
If you’re unsure about your vehicle, your owner’s manual is always the best guide.
Step 6: Reinstall Tires in New Positions
Now, place each tire in its new position according to the pattern you just learned. Start by hand-tightening the lug nuts to hold the wheel in place. This prevents cross-threading and keeps everything aligned.
Step 7: Lower the Car and Tighten Lug Nuts
Carefully lower the car from the jack stands. Once the car is back on the ground, fully tighten the lug nuts using a crisscross pattern. This ensures even pressure across the wheel. Finally, double-check that every single nut is secure.
Step 8: Check Tire Pressure
After the tires are mounted, don’t forget to check the air pressure in each one. Adjust accordingly to match the manufacturer’s recommended PSI, which you’ll find on a sticker inside the driver’s door. Proper inflation is just as important as rotation for even wear.
Step 9: Test Drive
Lastly, take your car for a slow, careful test drive in a safe area. Pay close attention listen for any unusual noises or vibrations. If everything feels normal and the car handles smoothly, you’ve done the job right.
Safety Tips
Throughout this process, always keep safety front and center:
Always use jack stands never rely on the jack alone.
Work only on flat, stable ground.
Wear gloves to protect your hands from dirt and sharp edges.
Mark tire positions with chalk if you’re worried about mixing them up.
How Often Should You Rotate Tires?
Generally speaking, every 5,000 to 7,500 miles is the standard recommendation for most passenger cars. However, if you frequently drive on rough roads or carry heavy loads, you may need to rotate them more often. Following a consistent schedule not only improves tire life but also keeps you safer on the road.
Final Thoughts
In conclusion, rotating your tires at home is not only simple but also a great way to save money and stay in control of your vehicle’s health. By doing this regularly, you prevent uneven wear, improve fuel efficiency, and extend the life of your tires.
At CarFixedExpert.com, our mission is to make car maintenance easy and approachable for everyone. With these clear steps, even complete beginners can learn how-to-rotate-tires safely and confidently just like a pro.

Adnan Aslam is passionate about helping everyday drivers understand their vehicles better. Through CarFixedExpert.com, he shares clear, step-by-step car maintenance guides written in simple language. His goal is to make basic repairs and maintenance easy, safe, and affordable for everyone.
He believes that even small car knowledge can save money and prevent major problems. His content focuses on practical advice, safety awareness, and beginner-friendly explanations.